

Opening an Amazon FBA account in 2026 isn’t hard, but it is picky. One mismatched address line, one blurry document photo, and you can end up stuck in verification limbo.
The good news is that you can avoid most problems by preparing the right info first, then moving through Seller Central in a clean, logical order. Think of it like airport security: if your documents match and your bag is packed right, you walk through. If not, you’re pulled aside.
Below is a practical walkthrough to open an Amazon FBA account, enroll in FBA, and fix the issues that stop beginners most often.
What you need before you open an Amazon FBA account
Before you start, gather everything in one folder on your computer (and keep originals nearby). Amazon may ask for re-uploads.
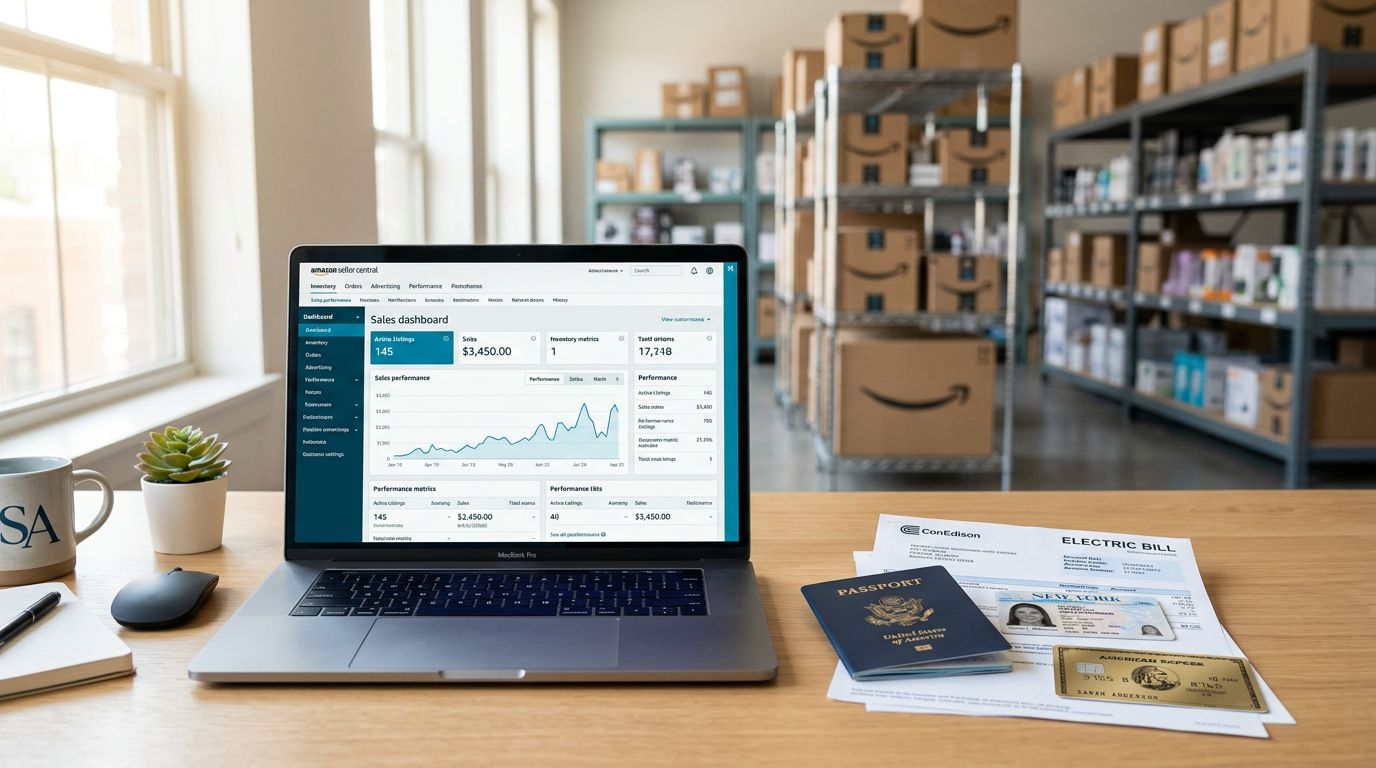
You’ll usually need:
- A government-issued ID (passport or driver’s license)
- Proof of address (often a bank statement, card statement, or utility bill, typically dated within the last 180 days)
- A chargeable credit card (prepaid cards often fail)
- A bank account for deposits (make sure the name matches your legal entity or personal name)
- A phone number that can receive texts or calls
- Tax details (US sellers often use SSN or EIN, others complete an interview for their situation)
Plan choice matters too. As of March 2026, Amazon commonly offers these two selling plans (pricing and rules can change, always confirm during signup):
| Plan | Monthly fee | Per-item fee | Who it fits |
|---|---|---|---|
| Individual | $0 | $0.99 per item sold | Testing with low volume |
| Professional | $39.99 | $0 (per-item fee usually removed) | Most FBA sellers |
If you’re in the UK, Amazon’s local signup flow and requirements can differ, so it helps to cross-check the Amazon UK registration guide before you begin.
Step-by-step: create your Seller Central account in 2026
Set aside 30 to 60 minutes. Don’t rush the fields, because small mismatches cause most delays.
- Start registration from Amazon’s official flow
Use Amazon’s own steps so you don’t miss region-specific requirements. The cleanest reference is Amazon’s seller registration guide. - Choose your selling plan
Most new FBA sellers pick Professional, because FBA is built for ongoing sales, not the occasional listing. Still, you can switch plans later in many cases. - Enter your legal name and business info (exactly)
Use the same spelling and formatting across: your Seller Central profile, ID, bank account, and proof of address. If your statement says “St.” and your ID says “Street,” match what your documents show. - Add your phone and set two-step verification
Use a number you control long-term. Changing it later can trigger extra checks. - Add your credit card and deposit bank account
Your credit card covers fees and charges. Your bank account receives disbursements. If you’re a business, try to use a bank account in the business name. - Complete identity verification
Amazon may request: document uploads, a selfie with ID, or a short video call. Use bright light, no glare, and a plain background. Many sellers get approved within 24 to 72 hours, but it can take longer during busy periods. - Finish the tax interview
Answer based on your real situation (individual vs business, resident vs non-resident). If you’re unsure, pause and get advice. It’s easier than fixing it later.
Tip: Treat every field like it’s audited, because it often is. If two screens ask for the same info, enter it the same way both times.
Enroll in FBA and prep your first shipment
Once your selling account is active, you can enroll in FBA inside Seller Central. FBA is just the fulfillment method, so you can list products first, then switch them to FBA.
Here’s the practical order that keeps beginners out of trouble:
- Create your first product listing
Use the right category and attributes. If your brand is not registered yet, be careful with brand names you don’t own. - Switch the listing to “Fulfilled by Amazon” (FBA)
In your inventory, choose the option to change fulfillment to Amazon. Seller Central will guide you through the FBA setup screens. - Follow prep and labeling rules
Many products need an Amazon barcode label (often an FNSKU label) and specific packaging (poly-bag warnings, suffocation labels, bubble wrap rules, and so on). Amazon can reject shipments that don’t meet requirements, which adds delays and fees. - Build a shipping plan and send inventory
Amazon may split your shipment across more than one fulfillment center. That’s normal. Start with a small quantity so mistakes don’t cost you a lot.
Fees for fulfillment and storage vary by marketplace, size tier, and season, and Amazon updates them. Check the fee preview inside your shipping workflow before you commit.
Fix common setup issues (verification loops, address mismatch, payment errors, tax confusion)
Some problems show up so often they’re basically a rite of passage. The fix is usually simple, but only if you know what Amazon is checking.
Identity verification loop (keeps asking again)
Use higher-quality images, not screenshots. Re-upload a single, clear proof-of-address document that matches your entered address line-by-line. If the process offers a video call, take it, because it can resolve edge cases faster. For ongoing platform updates and seller experiences, scan threads like Identity Verification Process status updates.
Address mismatch (the silent killer)
Match formatting across everything. Apartment numbers, punctuation, and abbreviations matter. Also check that your proof of address is recent enough and shows your full name.
Payment method errors
Try a standard credit card (not prepaid). Confirm the billing address on the card matches what you entered. If your bank account name differs from your legal name in Seller Central, update the account details so they align.
Tax interview confusion (W-9 vs W-8 types)
Don’t guess. Stop and confirm your status before submitting. If you already submitted and you’re unsure it’s correct, look for the tax settings area in Seller Central and update it carefully, or get help from a qualified tax pro.
Quick-start checklist and what to do next
Quick-start checklist (use this before you click “Sign up”)
- Pick your marketplace (US, UK, EU, CA, AU) and commit to one for launch
- Prepare ID and one proof of address (recent, readable, matching your exact name)
- Use a dedicated email and phone number
- Use a chargeable credit card and a bank account with matching legal name
- Decide Individual vs Professional plan
- Block 60 minutes for signup and verification steps
If you’re in Canada, Amazon publishes a region-specific overview that’s helpful for expectations and terminology, even if you’re selling elsewhere. See the Amazon Canada beginner guide.
What to do next after your account is live
First, do product research with numbers, not vibes. Next, source samples and confirm landed cost (product, shipping, duties, prep). Then set up strong listing basics (photos, compliant claims, clear variation setup). If you’re building a real brand, learn the basics of Brand Registry and trademark timing, because it affects control and protection. Finally, watch Account Health early, because late shipments, returns, and policy flags stack up fast.
Opening an Amazon FBA account in 2026 is mostly a documentation and accuracy test. When your details match and your first shipment is clean, the rest feels much easier. The best next step is simple: pick one product idea and start validating it today, while your setup momentum is still high.